


Repairing a Tesla door handle requires thorough damage inspection, using model-specific tools and parts. Simple repairs use basic tools, while complex ones need specialized automotive equipment. The process involves removing old handles, inspecting components, installing new ones with precise alignment, and testing functionality. Safety and accuracy are key, with detailed guides and professional services recommended for advanced repairs involving auto glass integration.
Looking to fix your damaged Tesla door handle? This comprehensive guide breaks down the process step-by-step. First, assess the extent of the damage to your Tesla door handle. Then, gather the necessary tools and high-quality replacement parts. Follow these clear instructions to ensure a successful repair, enhancing your vehicle’s safety and aesthetics. Learn how to navigate through each stage, from disassembly to reassembly, making your Tesla door handle repair a breeze.
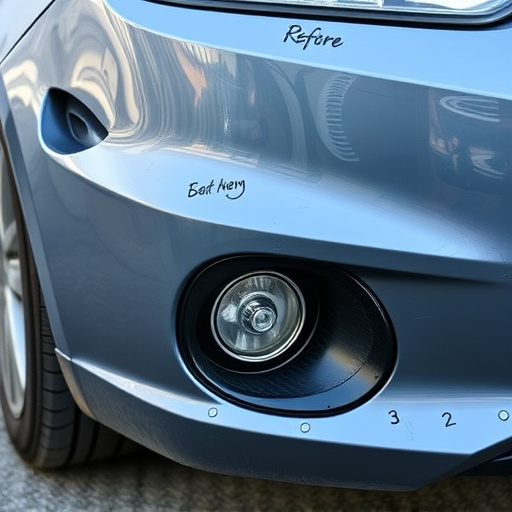
Assessing the Damaged Door Handle
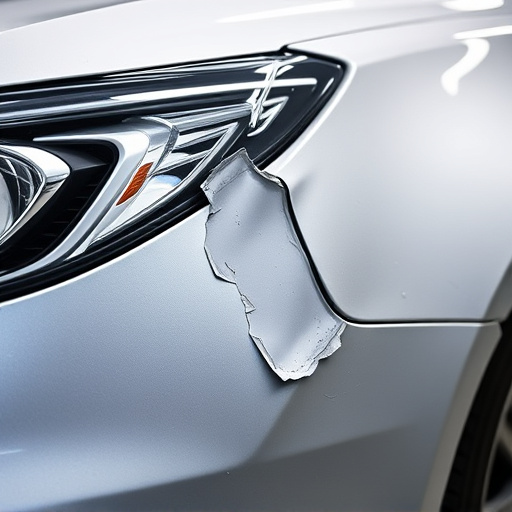
When assessing a Tesla door handle for repair, the first step is to carefully inspect the damage. Look for cracks, dents, or any signs of wear and tear that might compromise the structural integrity of the handle. In some cases, the issue could be as simple as a loose connection or a broken cable, which can often be addressed with basic tools and a replacement part. However, if the damage is more extensive—such as severe cracking or complete detachment from the door—it may require more intricate repair techniques, akin to those seen in automotive collision repair for heavier damages like car dent removal.
During this assessment, consider the type of Tesla model you have, as different models might have unique design elements and replacement processes. This knowledge can help guide your approach to the repair, ensuring that the door handle is not only functional but also seamlessly integrates with your vehicle’s overall design. For instance, some Tesla models may require specialized tools or parts that are specific to their make and model, much like auto glass replacement for different car brands.
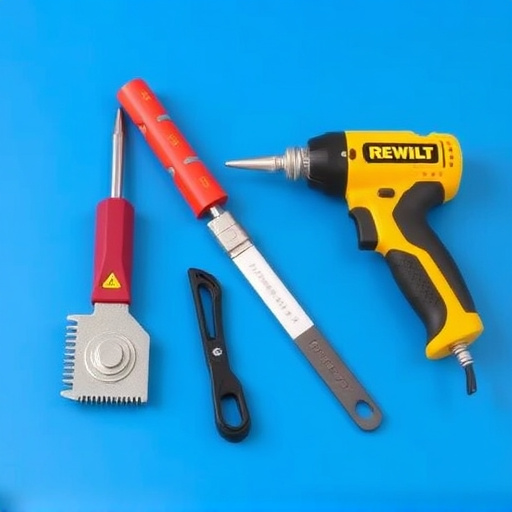
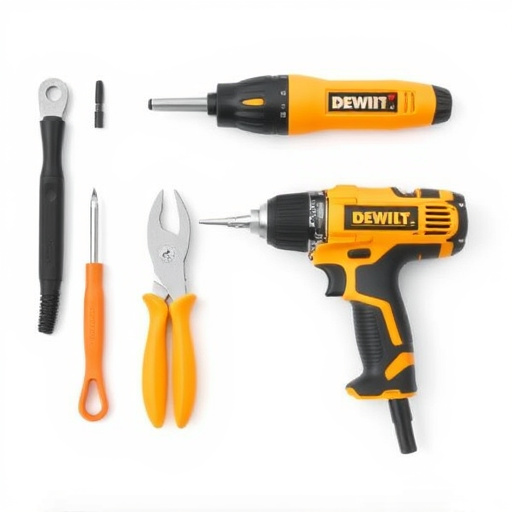
Gathering Necessary Tools and Parts
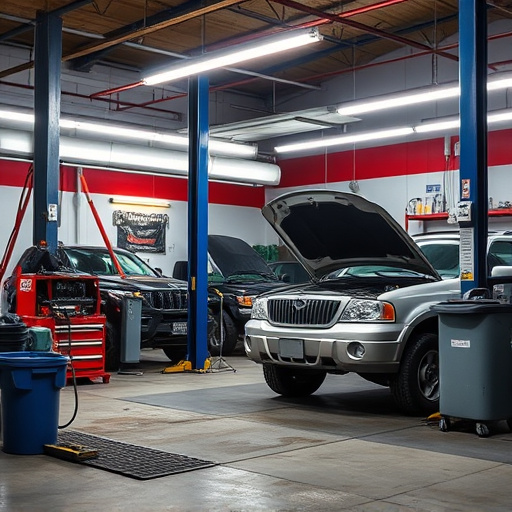
Before tackling a Tesla door handle repair, it’s crucial to gather all the necessary tools and parts. This process involves specific components tailored to your Tesla model, so ensure you have the correct replacement handle assembly, which typically includes an exterior handle, interior lever, and related hardware. Additionally, stock up on basic tools like socket sets, screwdrivers, and pliers, as well as any sealing or adhesive products recommended for your vehicle body repair.
A successful Tesla door handle repair requires careful consideration of safety and precision. While some repairs may be DIY-friendly, complex issues might necessitate professional vehicle restoration services. Always refer to detailed guides specific to your Tesla model and consider seeking advice from experienced mechanics specializing in vehicle repair services for guidance on intricate tasks.
Step-by-Step Repair Process
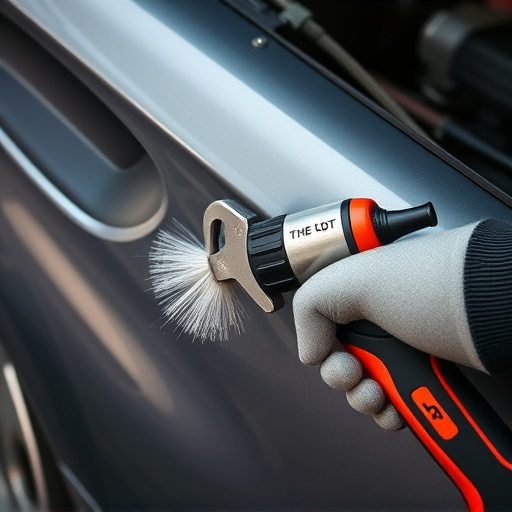
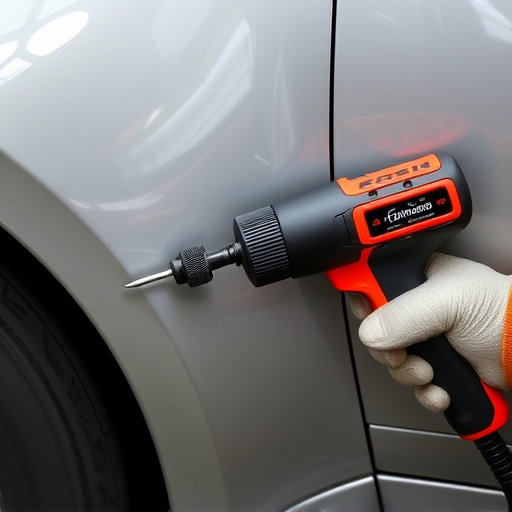
Repairs to a Tesla door handle can be a straightforward process when approached methodically. Begin by assessing the issue—is it a broken or loose handle, or a malfunctioning locking mechanism? This distinction will guide your procurement of the necessary tools and parts. For minor issues like a loose handle, you might only need a set of wrenches and some thread locker to secure it firmly again. More complex repairs, such as replacing a damaged or malfunctioning door handle assembly, may require specialized automotive repair tools and a new handle kit.
The physical process starts with removing the old handle, which often involves unscrewing or unclipping it from the car’s bodywork. Once removed, inspect the remaining components for damage or wear. Next, install the new handle, ensuring proper alignment and secure fastening. For Tesla door handle repair involving auto glass replacement, be sure to align the new handle accurately with the vehicle’s frame for a seamless fit. After installation, test the handle’s functionality, including locking and unlocking mechanisms, to confirm a job well done.
Repairing your Tesla’s door handle doesn’t have to be a daunting task. By following this step-by-step guide, you can confidently tackle the job using common tools and readily available parts. Whether dealing with a broken lever, worn-out lock mechanism, or damaged wiring, understanding the repair process empowers you to restore your vehicle’s security and functionality. Armed with knowledge and the right components, you’re well on your way to mastering Tesla door handle repair.