


Tesla door handle repairs range from simple adjustments to complex cable replacements due to wear and tear or defects. Regular maintenance prevents issues, while professional services are needed for severe cases like cable replacement with specialized tools. Essential diagnostics involve checking internal cables for damage or misalignment. While DIY is possible with basic tools, safety precautions include parking on a level surface and disconnecting the battery. Steps include removing the door panel, identifying the issue, replacing/repairing components, reassembling precisely, and conducting a final inspection using high-quality Tesla parts.
“Experience a faulty Tesla door handle? You’re not alone. Here, we demystify common issues and their causes, empowering you with crucial knowledge for safe repairs. Learn how to perform internal cable checks, a game-changer for troubleshooting and fixing your Tesla’s door handles effectively. From assessing problems to a step-by-step repair guide, this comprehensive article is your go-to resource for Tesla door handle repair.”
- Assessing Tesla Door Handle Issues: Common Problems and Causes
- Demystifying Internal Cable Checks for Safe Repairs
- Step-by-Step Guide to Tesla Door Handle Repair
Assessing Tesla Door Handle Issues: Common Problems and Causes
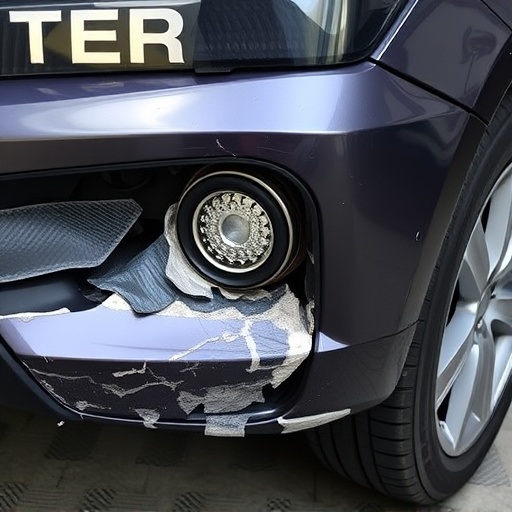
Tesla door handle issues can range from a simple, yet frustrating, stuck or stiff mechanism to more complex problems that may require professional attention. Before diving into repairs, it’s essential to identify the root cause. Common issues include worn-out or damaged internal cables, misaligned components due to frame straightening, or even poor installation during initial manufacturing.
One of the primary culprits for Tesla door handle repair needs is wear and tear, especially in models that see frequent use. The internal cables can stretch, fray, or break over time, leading to intermittent or complete failure of the handle. In some cases, a car body shop may need to replace these cables, which requires specialized tools and expertise. Proper auto maintenance, including regular checks and lubricating moving parts, can extend the lifespan of your Tesla’s door handles.
Demystifying Internal Cable Checks for Safe Repairs
When undertaking Tesla door handle repair, internal cable checks are crucial for ensuring safe and effective fixes. Many DIY enthusiasts might be tempted to jump straight into replacing a broken door handle, but proper diagnostics is key to avoiding further damage. Internal cable checks involve meticulously examining the intricate network of cables within your vehicle’s door handles, which control functions like unlocking, locking, and window adjustments. By identifying any frayed, damaged, or improperly connected wires, you can pinpoint the root cause of the issue, whether it stems from a simple loose connection or requires more complex auto body repairs.
Step-by-Step Guide to Tesla Door Handle Repair
Repairing a Tesla door handle is a straightforward process that can be accomplished with the right tools and some basic DIY skills. Here’s a step-by-step guide to help you navigate this task:
1. Safety First: Ensure your vehicle is parked on a level surface with the parking brake engaged. Put on safety gear, including gloves and eye protection, as a precaution when handling small parts.
2. Power Off: Always turn off your Tesla before beginning any repair work. This prevents any potential short circuits or other electrical hazards. Disconnect the battery if necessary to ensure complete safety.
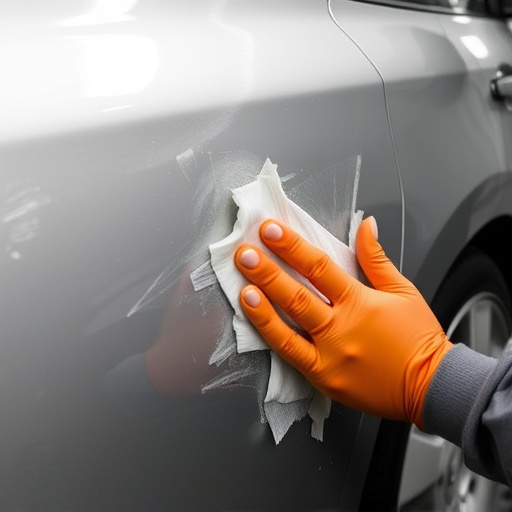
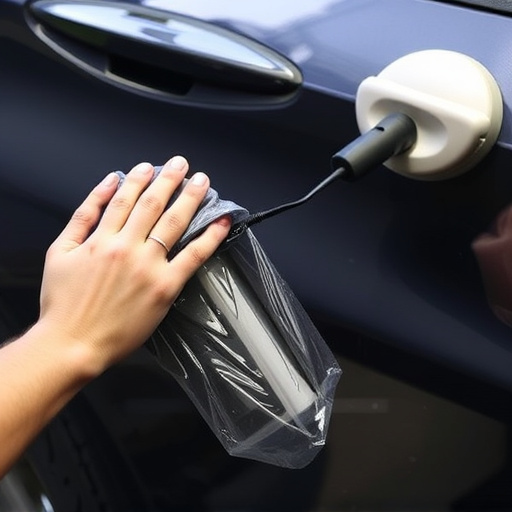
3. Remove the Door Panel: Using the appropriate tools, carefully pry open the door panel to access the inner components. Take note of how each piece is connected for easier reassembly later.
4. Identify the Problem: Inspect the door handle and its internal cables for any signs of damage, fraying, or wear. This will help you understand the root cause of the issue.
5. Replace or Repair: If a cable is damaged, consider replacing it. For minor issues like bent pins or loose connections, a careful repair might suffice. Use high-quality components specifically designed for Tesla models to ensure longevity.
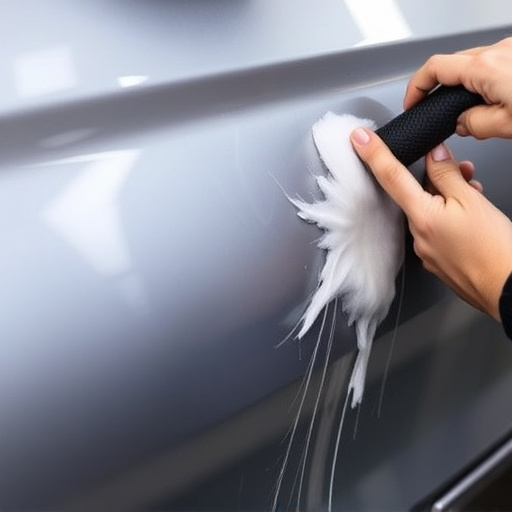
6. Reassemble: Once the repairs are made, carefully put the door panel back in place, making sure all components align correctly. Test the handle to confirm it functions properly.
7. Visual Inspection: After reassembling, conduct a thorough visual check to ensure everything is secure and no other issues exist that might require attention (like those commonly addressed in mercedes benz collision repair or tire services).
In conclusion, understanding and addressing Tesla door handle issues through internal cable checks is a crucial aspect of vehicle maintenance. By familiarizing yourself with common problems and following a step-by-step guide for repairs, you can ensure your Tesla’s safety and functionality. Remember, proactive care and proper repair techniques are key to keeping your electric vehicle in top shape. For any Tesla door handle repair, these strategies offer a reliable framework to navigate potential challenges effectively.