


Tesla door handles require expert repair post-minor collisions to maintain safety and aesthetics. Common issues include bent parts, loose connections, and paint damage. Professional car collision repair involves skilled technicians diagnosing and replacing worn components. Tools needed include adjustable wrenches, screwdrivers, pliers, heat gun, digital multimeter, and model-specific replacement parts. For complex repairs, consider professional body shop services to ensure precise, safe, and aesthetic Tesla door handle restoration.
After a minor collision, your Tesla’s door handles may sustain damage, affecting both functionality and aesthetics. This guide addresses common issues, providing a comprehensive overview of the repair process. Learn how to identify problems with your Tesla door handles and what tools you’ll need for successful do-it-yourself repairs. We’ll walk you through each step, ensuring your vehicle returns to its pre-collision condition. Discover how to tackle Tesla door handle repair efficiently and effectively.
- Understanding Common Tesla Door Handle Issues After Minor Collisions
- Tools and Materials Required for Repair
- Step-by-Step Guide to Fixing Tesla Door Handles Post-Collision
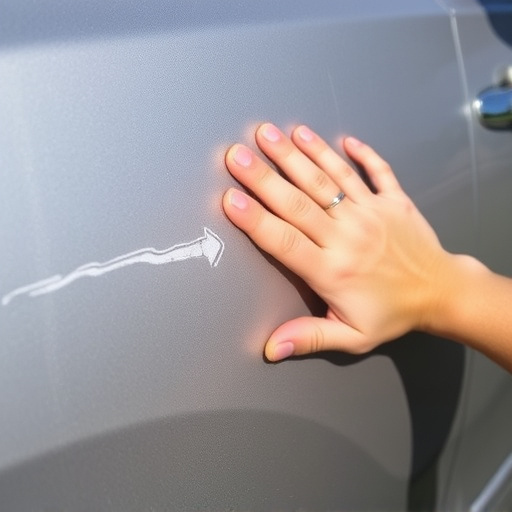
Understanding Common Tesla Door Handle Issues After Minor Collisions

After minor collisions, Tesla door handles can often present issues, requiring expert attention for efficient Tesla door handle repair. While it might seem like a simple problem, proper fixation is crucial to ensure both safety and aesthetic integrity. Common challenges include bent or broken components, loose connections, and paint damage. These issues can arise from the impact of the collision, causing misalignment or degradation of the handle’s mechanism.
Proper car collision repair involves more than just fixing visible damages; it entails meticulous attention to details like reattaching or replacing worn-out parts and ensuring the door handles operate smoothly. Skilled technicians in a reputable car body shop will possess the tools and expertise to diagnose and address these problems, restoring your Tesla’s pre-collision condition and enhancing its overall safety and appeal.
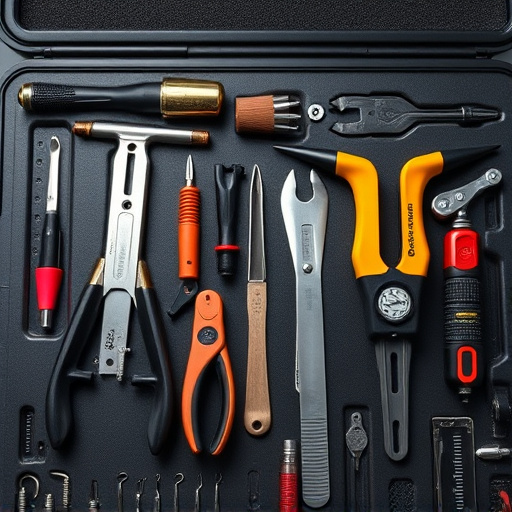
Tools and Materials Required for Repair
To successfully undertake a Tesla door handle repair after a minor collision, you’ll need a few specific tools and materials. For starters, basic hand tools such as adjustable wrenches, screwdrivers (including Torx and Phillips), and pliers are essential for disassembling and reassembling components. Additionally, a set of high-quality replacement door handle parts tailored to your Tesla model is crucial—ensure these are authentic or certified to maintain vehicle integrity.
Beyond these basics, consider having access to a heat gun (for softening and removing stuck components) and a digital multimeter (to test electrical connections). While these tools may seem advanced for DIY repairs, they’re often necessary for complex door handle mechanisms. For those not comfortable with such tasks, professional body shop services offering Tesla door handle repair are readily available, guaranteeing precise vehicle body repair without compromising safety or aesthetics.
Step-by-Step Guide to Fixing Tesla Door Handles Post-Collision

After a minor collision, Tesla door handles can be affected, leading to concerns about safety and aesthetics. Luckily, fixing them is a relatively straightforward process that you can accomplish yourself with the right tools and guidance. Here’s a step-by-step guide for Tesla door handle repair after such incidents:
1. Assess the Damage: Start by inspecting your Tesla’s doors closely. Look for dents, cracks, or any signs of misalignment in the handles or surrounding panels. Minor hail damage repair or bumper repair might be sufficient for external fixes, but ensure that deeper issues with the door mechanism are also addressed.
2. Gather Your Tools and Parts: You’ll need a set of hex keys (or Allen wrenches) in various sizes, a new Tesla door handle kit (which typically includes both internal and external parts), and some rubber mallets or a soft hammer. Consider getting replacement parts from an authorized Tesla service center or trusted online retailers to ensure quality and compatibility.
3. Remove the Old Handle: Using your hex keys, carefully remove the screws that secure the old door handle in place. Next, pry off any plastic covers or trim around the handle area. Once exposed, gently pull the old handle assembly out of its socket. Take note of how it connects to avoid confusion during the installation of the new parts.
4. Install New Parts: Align the new handle kit with the existing door and reinsert it into place using your hex keys. Ensure all screws are tightened securely but not too tightly to prevent damage. Reattach any plastic covers or trim, and test the handle’s functionality before closing the door.
5. Address Related Issues (if applicable): If the collision caused more significant problems like a misaligned panel or dents, address these separately using appropriate repair techniques for bumper repair or other car collision repairs. Remember to check that all components are properly aligned and secure after completing the Tesla door handle repair.
In many cases, minor collisions can cause noticeable issues with Tesla door handles. Understanding these common problems and having the right tools on hand allows for efficient repairs, ensuring your Tesla remains in top condition. By following a simple step-by-step guide, you can effectively address and resolve door handle damage, enhancing both the safety and aesthetic appeal of your vehicle. Remember, prompt action after a collision is key to minimizing long-term effects on your Tesla’s door handles.