


Before attempting DIY Tesla door handle repair, assess damage, check functionality and security, replace worn components with high-quality alternatives from specialized stores or online forums, follow model-specific guides for proper installation, reinstall and test drive for smooth operation, address persistent issues with professional assistance.
Looking to fix your faulty Tesla door handle? This DIY guide will walk you through the process, from assessing damage to reinstallation. First, inspect the handle for worn components like a broken or missing motor or wiring issues. Gather the necessary tools, including a screwdriver and replacement parts specific to your Tesla model. Then, carefully replace damaged pieces, ensuring proper alignment. After reassembling, test the handle’s functionality, verifying smooth operation and secure locking. With these steps, you can efficiently restore your Tesla’s door handle to working order.
Assess Damage and Gather Tools
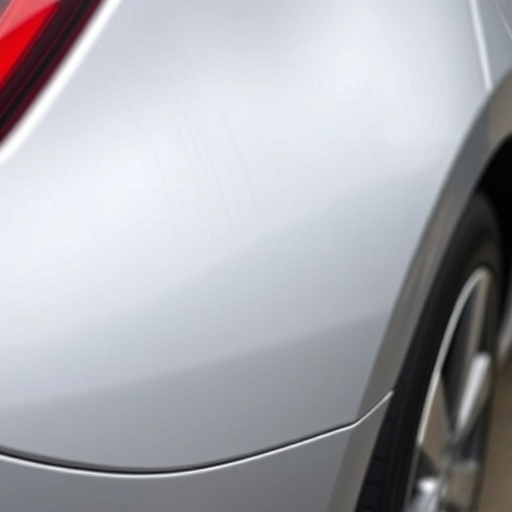
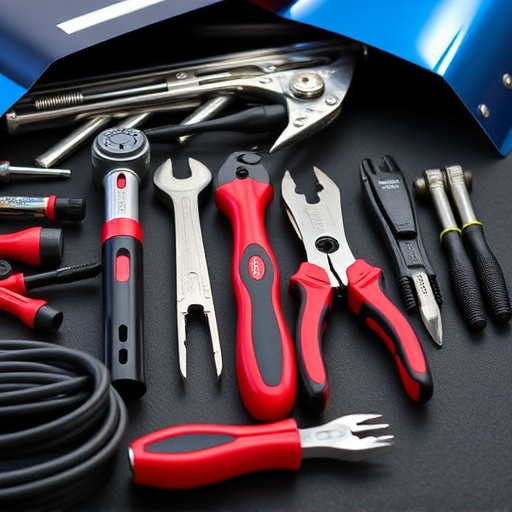
Before diving into any Tesla door handle repair, it’s crucial to assess the extent of the damage. Start by examining the door handle for cracks, breaks, or loose parts. Check if the base of the handle is secure and the mechanism functions smoothly. Look out for signs of wear and tear, as well as any unusual noises when operating the handle. Once you have a clear understanding of the issue, gather the necessary tools to ensure a successful DIY repair. For most Tesla door handle repairs, you’ll need basic tools like a screwdriver, pliers, and possibly a new door handle assembly (if the damage is severe). If your vehicle has experienced hail damage repair or other auto body shop work, consult with a professional to determine if any specialized tools are required for your specific Tesla model.
Replace Worn Components

When undertaking a DIY Tesla door handle repair, one of the key steps is to replace worn components. Over time, various parts of your vehicle’s doors can degrade, leading to issues like loose handles or difficulty in operation. Identify the specific elements that need replacing—be it the door handle itself, the internal mechanisms, or even the seals—and source high-quality alternatives tailored for your Tesla model. This could involve seeking out specialized auto parts stores or consulting online forums dedicated to Tesla owners for recommendations on reliable suppliers.
Remember, proper installation is paramount for a successful Tesla door handle repair. Refer to detailed guides and videos specific to your vehicle model to ensure accurate replacement. While this process may seem daunting initially, many car enthusiasts find the satisfaction of handling auto repairs themselves rewarding. Plus, with careful consideration and the right tools, you can tackle tasks like replacing worn components in your vehicle’s doors, enhancing both functionality and aesthetics—all without needing to visit an auto body repair shop or dealership.
Reinstall and Test Functionality

After successfully replacing your Tesla door handle, it’s time to reinstall and thoroughly test its functionality. Begin by carefully lining up the new handle with the existing hardware and securing it in place using the appropriate fasteners. Make sure all parts are tightly fitted and aligned correctly. Once reinstalled, conduct a comprehensive test drive to ensure the door handle operates smoothly and securely. Check for any unusual noises, excessive play, or signs of malfunction during opening and closing of the doors. This step is crucial as it confirms that your Tesla door handle repair was executed effectively, ensuring safe and convenient access to your vehicle.
Remember, if you encounter any issues or are unsure about any aspect of the reinstallation process, consider seeking assistance from a professional automotive body shop specializing in Mercedes Benz repairs. They can provide expert guidance and perform dent removal services if necessary, restoring your Tesla’s door handle to like-new condition.
Repairing your Tesla’s door handle doesn’t have to be a daunting task. By carefully assessing the damage, gathering the right tools, replacing worn components, and reinstalling with a test of functionality, you can save time and money while keeping your electric vehicle in top shape. Embrace the DIY approach and take control of your Tesla’s maintenance with this simple guide. Remember, for minor repairs like door handle replacement, it’s an efficient and cost-effective solution before considering a visit to the dealership.