


Inspect door panel for distress, test handle functionality, check for rust/corrosion, and listen for unusual noises. For DIY repairs, gather right tools (screwdriver set, pliers) and parts (new assembly, sealing products), ensuring Tesla compatibility. Replace handle using guide, protecting bodywork, aligning & securing new assembly, reconnecting wiring, testing operation.
Need a DIY Tesla door handle repair? You’re not alone. Tesla door handles are known to malfunction, but fixing them doesn’t have to be a hassle. This guide breaks down the process into simple steps, from assessing damage like loose connections or broken parts to gathering the right tools and replacement components. By following these instructions, you’ll restore your Tesla’s security and convenience in no time.
- Assessing the Damage: What to Look For
- Gathering Tools and Parts for Repair
- Step-by-Step Guide: Replacing Your Tesla Door Handle
Assessing the Damage: What to Look For
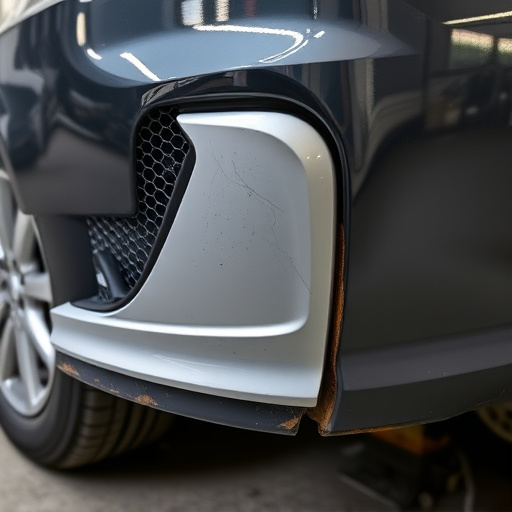
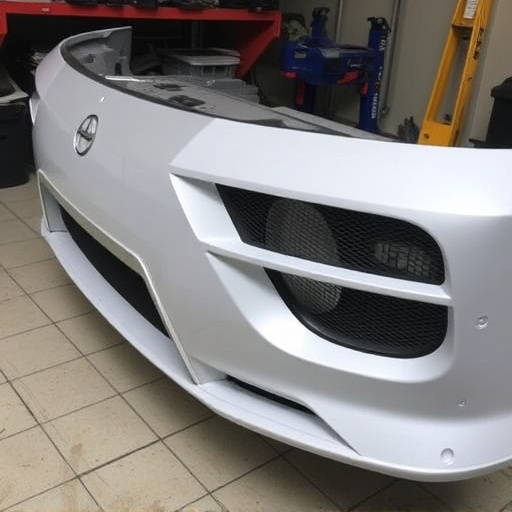
When assessing damage for a Tesla door handle repair, it’s crucial to inspect several key areas. Look for visible signs like cracks, dents, or deformation in the door panel surrounding the handle area. Check if the handle itself is loose or unable to operate properly, indicating potential internal issues. Also, examine the locking mechanism for any discrepancies—a common issue after car collisions or accidents.
Don’t overlook evidence of rust or corrosion, especially in regions with high humidity or salt-treated roads. These can weaken structural integrity and compromise safety. If the door handle has become difficult to open or close, or if you hear unusual noises when operating it, these could point to worn-out parts needing replacement. Visit a reliable collision repair center for professional diagnosis if symptoms persist, ensuring your Tesla’s door handle functions safely and securely.
Gathering Tools and Parts for Repair

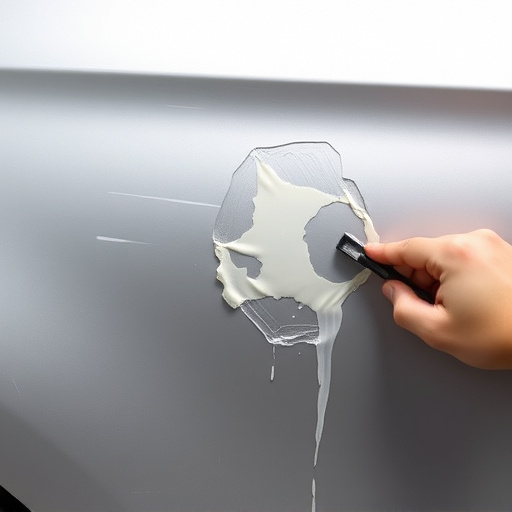
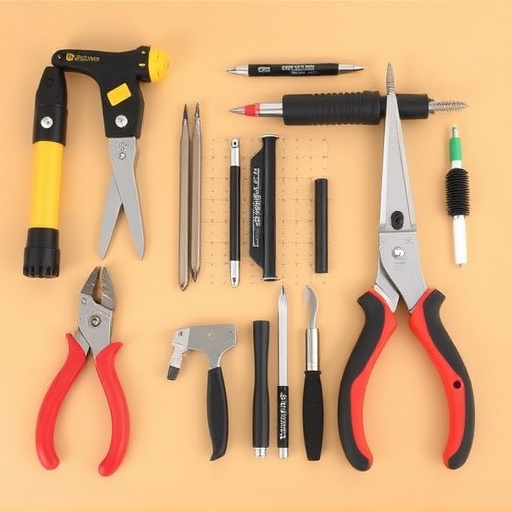
Before tackling any DIY Tesla door handle repair, it’s crucial to gather the right tools and parts. For a successful vehicle body repair, you’ll need some essential items like a screwdriver set (especially for precision work), pliers, a new door handle assembly (ensure compatibility with your Tesla model), and possibly some sealing or adhesive products recommended by Tesla or a trusted auto parts store.
When looking for these components, consider visiting an auto body shop or checking with an auto repair near me to confirm compatibility and availability. Remember, the right tools and high-quality replacement parts are key to achieving a secure and lasting fix, ensuring your vehicle’s door handle functions flawlessly while preserving its sleek design.
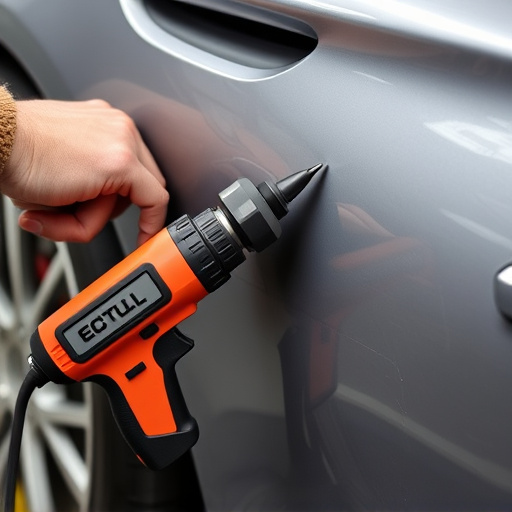
Step-by-Step Guide: Replacing Your Tesla Door Handle

Replacing a Tesla door handle is a relatively straightforward process that can save you the cost and hassle of taking your vehicle to a car repair shop. Here’s a step-by-step guide for a DIY approach:
1. Gather Your Tools: Before starting, ensure you have all the necessary tools, including a Phillips head screwdriver, pliers, and a new door handle assembly (you can source this online or from a vehicle body shop). Protect your work area with gloves to avoid any nicks or cuts.
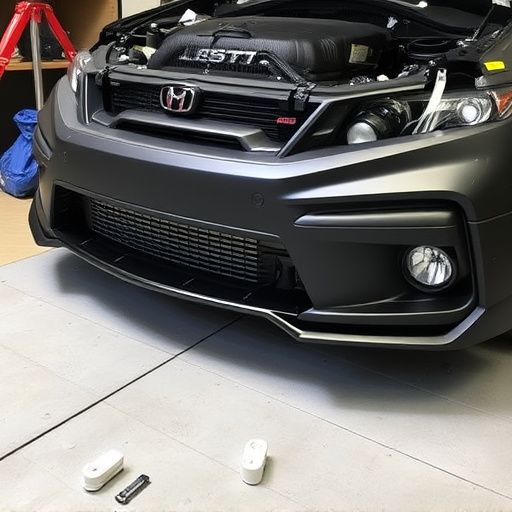
2. Power Off and Remove: First, disconnect your Tesla’s battery for safety. Then, carefully remove the old door handle by unscrewing the visible bolts and carefully prying it out. This will expose the locking mechanism and wiring inside the vehicle’s vehicle bodywork.
3. Install the New Handle: Align the new door handle assembly with the existing holes in your Tesla’s vehicle bodywork. Secure it in place using the screws provided, tightening them firmly but gently to avoid damaging the vehicle body parts. Reconnect the wiring and ensure all components are properly seated.
4. Test Your Work: After reassembling, power on your Tesla and test the new door handle to confirm proper functionality. Ensure it opens and closes smoothly and securely.
Repairing your Tesla’s door handle can save you time and money compared to replacing it outright. By following these straightforward steps and gathering the necessary tools and parts, you’ll be able to confidently fix your vehicle’s issue. Remember, assessing the damage thoroughly is key; ensure you identify the problem before beginning the repair process. With a bit of DIY know-how, you can get your Tesla back in top form without breaking the bank.